6. Hot Swapping Keyswitches

(10 min read)

6.1 🔀Hotswapping Keyswitches

Hotswapping refers to swapping out a component on your keyboard. By hotswapping keyswitches, we can customize the smoothness and the clicking sensation when you press a key on the keyboard.

6.2 🛠️Necessary Tools and Components

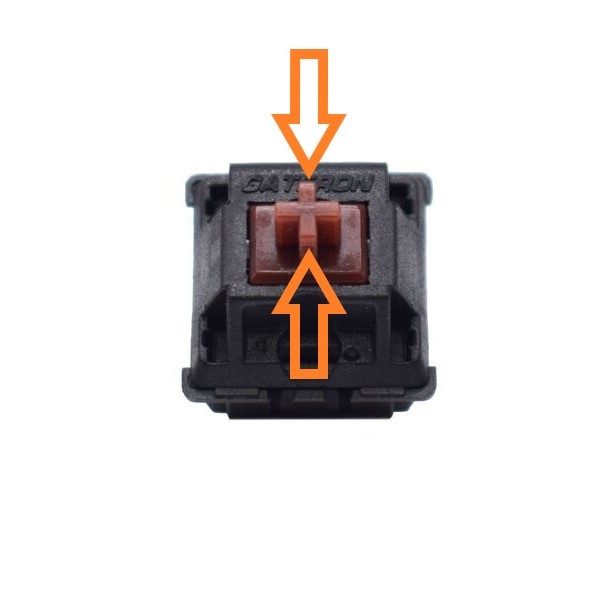
  • Keyswitches: 5-legged MX style keyswitches are recommended. MX Cherry and Gaterons are officially supported. But it should work with all MX style switches.

  • Keyswitch puller

  • Keycap puller

Not compatible with Kailh switches and low profile switches.

6.3️ 📖Instructions

Step 1. Remove Keycaps

  • Remove keycaps with a keycap puller.

Step 2. Open the Keyboard

  • Open the keyboard by unscrewing the M6 screws on the back of the keyboard.

  • You will need an M6 sized hex key. A hex key is also called an Allen key.

Step 3. Swap the Keyswitch

  • Remove a keyswitch with a keyswitch puller.

    • You may need to pull with a bit of force. This does not require excessive force.

    • It may be helpful to hold the base plate and the top case together in one hand while you use the keyswitch puller with the other hand.

  • Gently push the Kailh socket on the circuit board upwards with your finger. Next align the metal pins on the keyswitch with the metal foils on the Kailh socket. Then insert the new keyswitch. See 6.5 ❇️Tips for more details.

    • The Kailh socket is the black plastic component that has a flipped "L" shape (﹃ ).

  • Then repeat this to swap out each keyswitch.

Step 4. Close the Keyboard

  • Close the keyboard by screwing the M6 screws back on.

Step 5. Add Keycaps

  • Add the keycaps back on and you're done! 🎉

6.4 📒Summary

  1. Remove keycaps with the keycap puller.

  2. Open the keyboard by unscrewing the M6 screws on the back of the keyboard.

  3. Pull out the keyswitch with a keyswitch puller.

  4. If the keyswitch is not coming out, try orienting it from a different angle. It may help to pull it in a curved motion.

  5. Insert the new keyswitch.

6.5 ❇️Tips

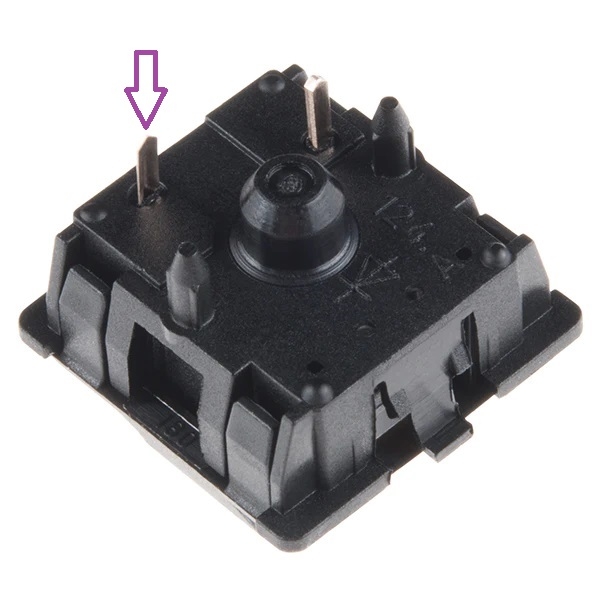
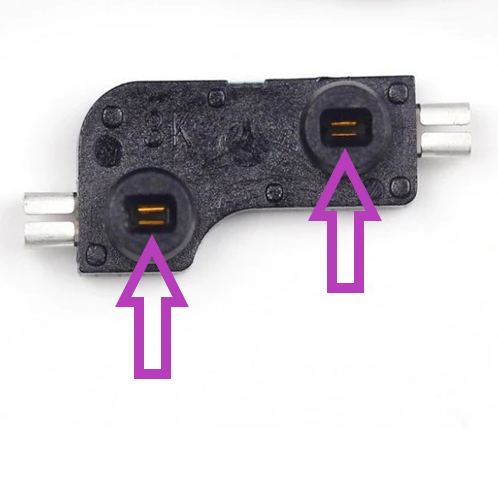
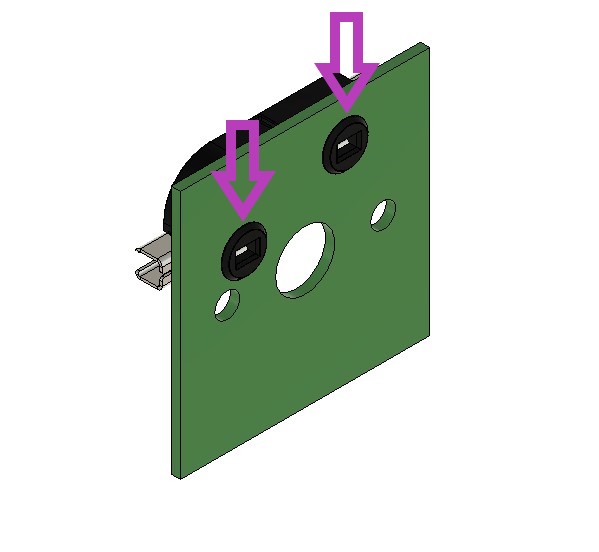
  • In order for the keyswitch to make an electrical connection with the PCB, the metal pins on the keyswitch seen in Figure 6.1 needs to slide between the two metal foils in the hotswap socket seen in Figure 6.2A

  • The purple arrow in Figure 6.2.A and Figure 6.2.B points to the thinner, more flexible, metal pin on the keyswitch. This pin is harder to align. If this is aligned, the other stiffer metal pin is generally not a problem.

Last updated